visit website photoshopqu.com
This tutorial will show the intermediate Adobe Illustrator artist how to easily make realistic-looking shiny vector hair. We'll be creating S shapes and using them to construct natural looking hair. You should have a basic understanding of Adobe Illustrator tools before you begin this tutorial.
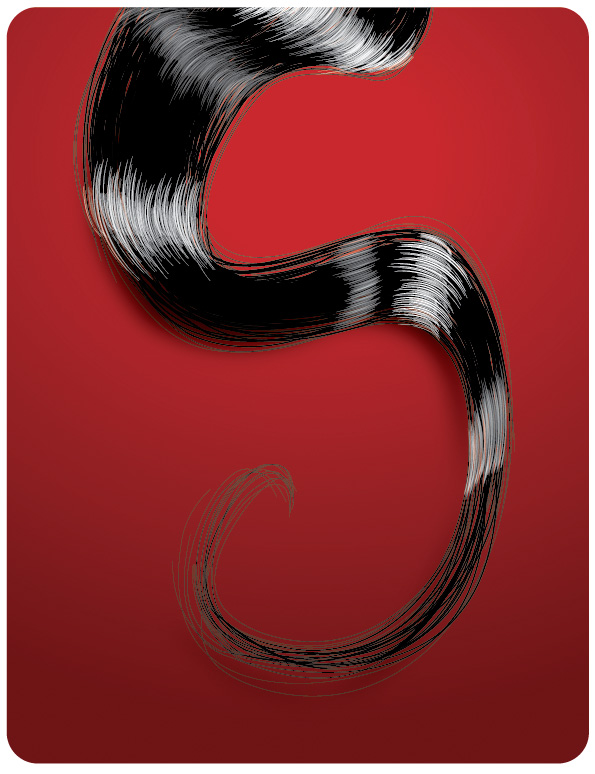
Final Image Preview
Let's have a look at the image we'll be creating.
Step 1
Start by using the Pen Tool (P) and draw a nice curved shape. Make sure your lines are smooth and don't have jagged points.

Step 2
Give the line a tapered look by using the Artistic Ink Palette. Go to the top of the screen and select Window > Brush Libraries > Artistic > Artistic_Ink. Select the Tapered-Sharp brush. You'll need to adjust the weight of your line so that the hair is thin. As you can see, I've used a weight of 0.25 pt.

Step 3
Notice how the end of the hair is thin and realistic looking. What also adds to the realism is the fact that the line is nice and smooth. Repeated practice with the Pen Tool will enable you to feel more comfortable drawing natural-looking objects. It just takes a little practice!

Step 4
Draw several more S shapes to build up a large volume of hair. Vary their weight and curvature to add variety. You can also duplicate and alter some of the existing shapes.

Step 5
Note the randomness of each hairs length, thickness, and curvature.

Step 6
Achieve a solid mass of hair by drawing an S shape and making it black. We'll place this shape behind the hair we've just drawn to fill in any white gaps.

Step 7
Give the shape a shadow to add dimension to it.

Step 8
Move the shape you just drew behind the individual hairs. See how the hair looks thick and complete?

Step 9
Small details like highlights give the hair a completely different feel. Draw several curved shapes that we'll use as highlights on various parts of the hair.

Step 10
Make the curved highlights white and place them over the top of the hair in places where light looks like it should be reflecting.

Step 11
Add more highlights and adjust their transparency to give the impression of less reflection. It's looks more realistic if a bright reflection is adjacent to a not-so-bright reflection.

Step 12
Careful not to add too many highlights as this will overpower the subtlety of the effect. This is what your hair should look like.

Step 13
The background is simply created using the Rounded Rectangle Tool. Once you draw the shape, add a nice gradient to compliment the hair. The contrast between the rich black hair and the vibrant red background helps the image come to life!

Final Image
Here is what your completed illustration should look like!